
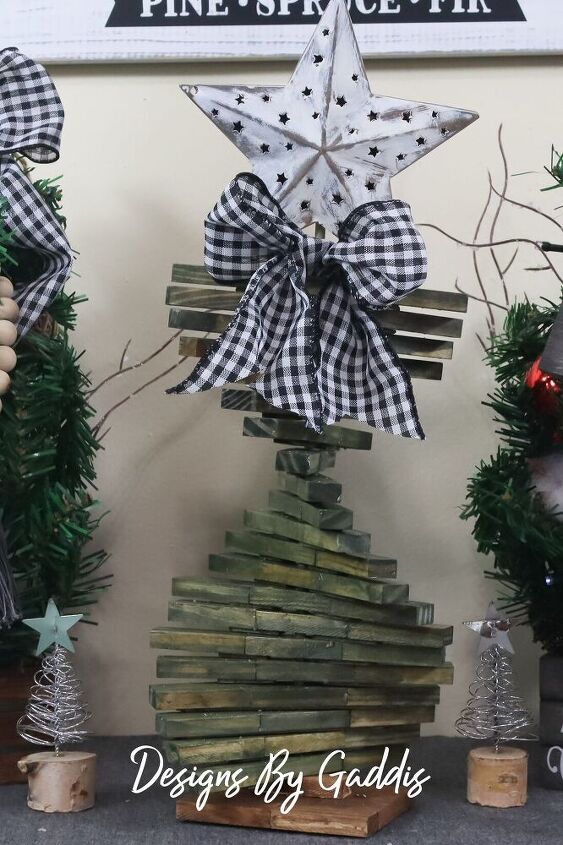
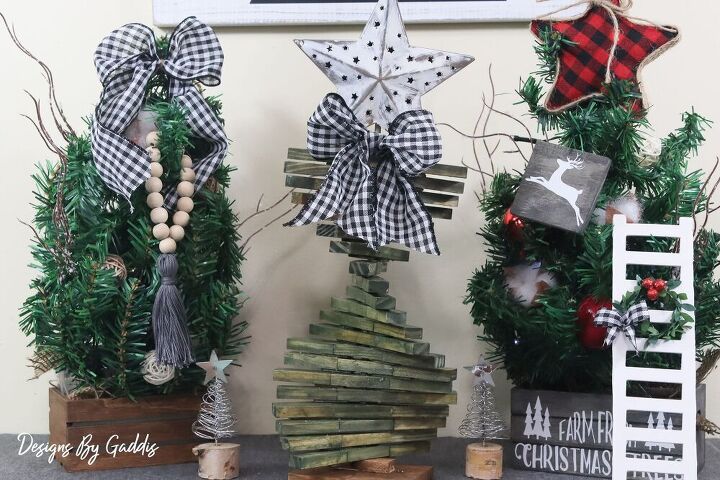
This tumbling tower Christmas tree DIY is a simple and fun way to decorate your home this Christmas season. Grab a few boxes of Dollar Tree Tumbling Tower Blocks and create your own rustic farmhouse Christmas Tree.
👍 👍 👍 👍 Give This Video A Thumbs Up If You Love Crafting & Easy Home Decor 👍 👍 👍 👍
Steps:
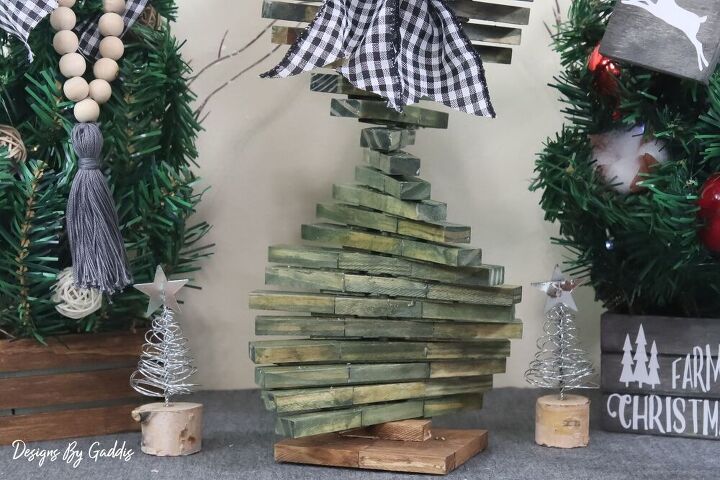
Step 1. Assemble the Base.
- I used 10 blocks to assemble the base for the tree.
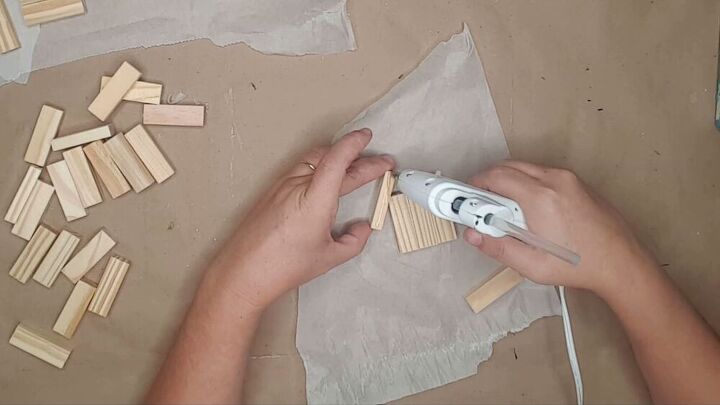
Step 2. Assemble Tree Branches.

- Hot glue 3 tumbling tower blocks together, end to end.
- Hot glue a craft stick to the back of each set.
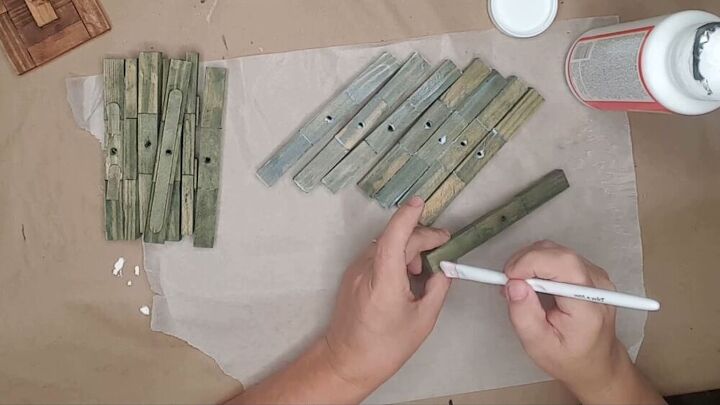
Step 3. Drill Center Hole.
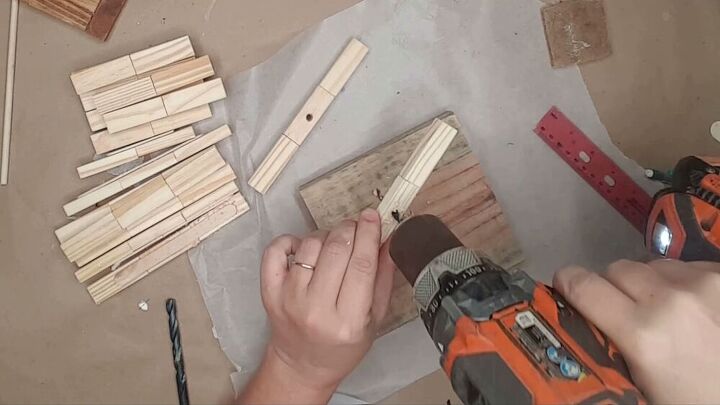
- With a ruler or measuring tape find the center of each branch and drill a hole.
- Make sure the drill bit is a little larger than the dowel to make adding the branches to the dowel easier.
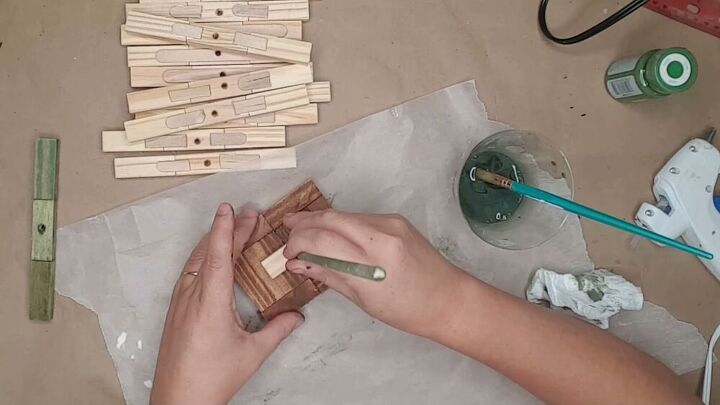
Step 4. Stain Branches and Dowel.
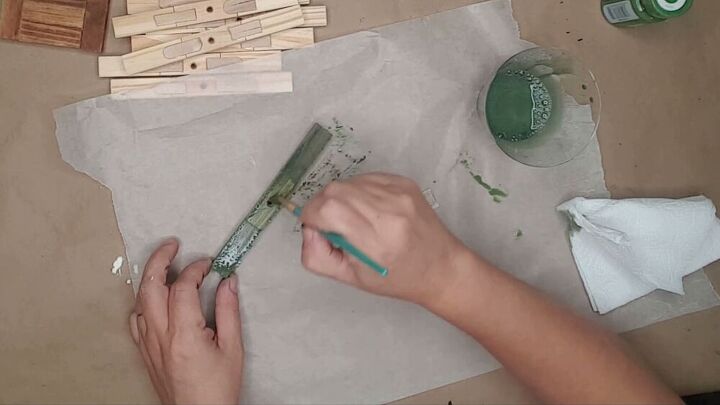
- Create a colored stain of your choice using acrylic paint and water.
- Stain everything using this mixture.
Step 5. Attach Dowel to Base.
- Hot glue another block to the top center of the base.
- Drill a hole in the block you just added only.
- Fill hole with hot glue.
- Push dowel into hole and hold until it sets up.
Step 6. Apply Sealant to Branches (Optional)
- The paint and water stain will be very dull. I recommend using gloss Mod Podge to give the branches a little shine.
- This step is optional.
Step 7. Apply Branches to the Dowel
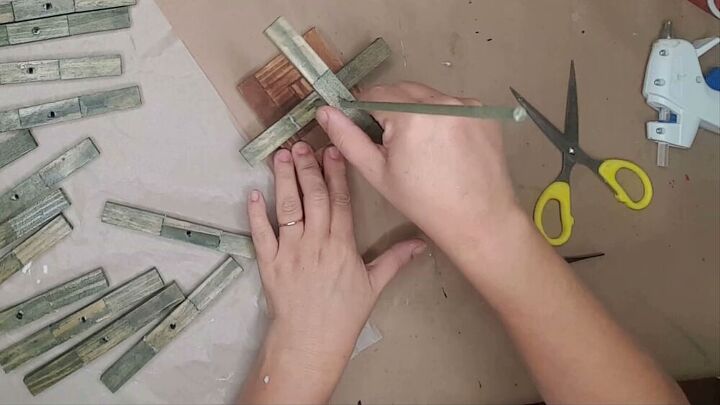
- Push the branches onto the dowel.
- If a branch doesn't want to fit use a pair of scissors to clean out or enlarge the hole.
- Push all the branches down to the bottom of the dowel.
- After all branches are on the dowel it is time to arrange the branches as desired.
- What I did: Each branch was turned to the edge of the branch below. Hard to explain but if you watch the video you'll understand.
Step 8. Paint Star. (Optional)
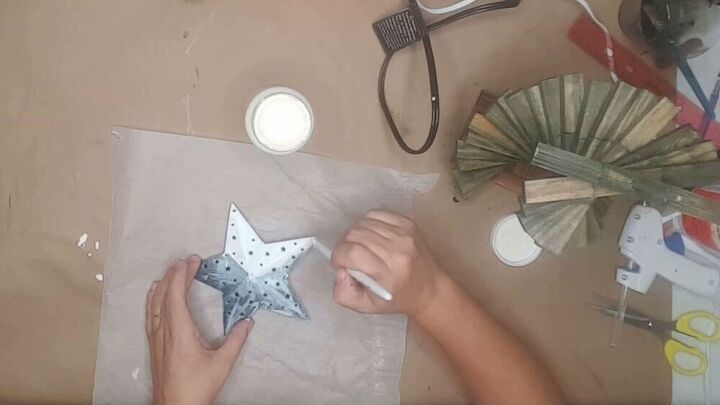
- I used a large metal star and painted it with white chalk paint.
- I then used a sanding block to make the star look more rustic.
- This step is optional.
Step 9. Add Embellishments.
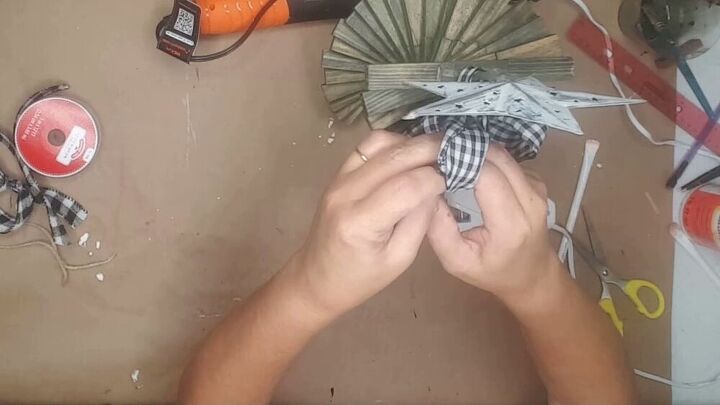
- Add any embellishments you want to your tree to make it your own.
- What I did: I hot glued the star to the dowel and then added a buffalo check ribbon under the star.
My Disclaimer: All of the video footage, photos, and designs are created by me and are owned by Designs By Gaddis. You may only use the video footage, photos, and designs with my permission. My content is mine and it is protected. I am not sponsored or paid by any of the product companies or tools shown in these videos unless otherwise mentioned. I have full rights and control of the content.
Copyright @ Designs By Gaddis 2020. Any reproduction or illegal distribution of the content in any form will result in immediate action against the person concerned.