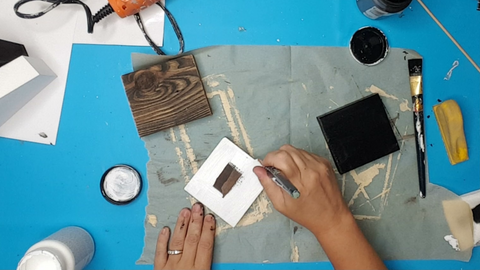
STEP 1. PAINTING
I painted 1 with Waverly Ink chalk paint.

And the other 2 with Waverly White chalk paint.

STEP 2. ASSEMBLY

I stacked the books on top of each other but I didn't glue them together.
I did this so if I wanted to change them up or add other mini wood books I could.
STEP 3. EMBELLISH

I placed a dab of hot glue and added the end of this ribbon to it, I wrapped the ribbon around the books and glued the other end.

I had this little stem from another project.
I cut it down so it would fit and lay somewhat flat on the books.
I added some little berries to it.
Added another dad of hot glue and added the embellishment to the top.
STEP 4. FINAL TOUCH

Instead of cutting out vinyl, I decided to use these little stamps for the book spines.
Watch the full tutorial on YouTube
I think these little books are so stinking sweet.
Let me know what you think in the comments!
