
I recently became a Chalk Couture designer and wanted to show you how simple it is to use Chalk Couture stencils and ink for creating beautiful Fall Decor.
What is Chalk Couture?
- Chalk Couture™ is revolutionizing high-end DIY home décor! Anyone can create a masterpiece in minutes.
How do you use Chalk Couture?
- By using the same silk screen transfers and squeegee to apply, you can use Couture Ink on fabrics to embellish just about anything. Make t-shirts, pillows, towels, or hats. By using the ink and heat setting it with a household iron, you can easily dress up a simple throw pillow or make custom t-shirts.
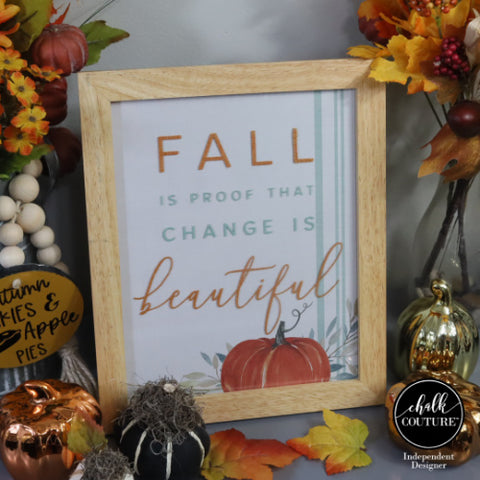
I will show you how to use Chalk Couture Ink on glass to create some beautiful and amazing Fall decor for your home.
Step 1.
Remove everything from the frame and clean the glass with rubbing alcohol or window cleaner. I have found that rubbing alcohol works best for me.
Step 2.
Place the fuzzing cloth on a flat surface. Place the Chalk Couture stencil onto the fuzzing cloth and pulled it up. I did this 4 or 5 times. You need to do this with the stencils so they aren't so sticky when you apply them to your surface.
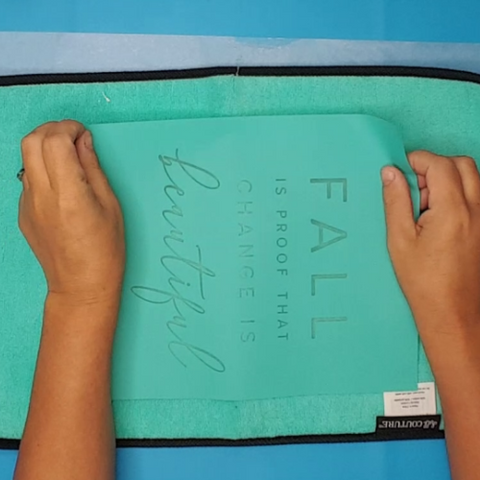
If the stencil has been used defuzzing 2 to 3 times is enough. If it's new it is recommended to defuzz it 4-5 times.
Step 3.
Apply the stencil to the glass, rub it down with your hand to make sure all the air bubble are removed and to make sure the stencil is stuck to the glass. I also used a squeegie and lightly ran in across the stencil.

Step 4.
Chose the Chalk Couture Ink colors you want to use with your stencil. I used Eucalyptus and Shimmer Cooper.

To apply the ink
- Place some of the ink onto the squeegie and rub it across the area of the stencil you want that color.
- Start with a thick layer of ink.
- Scrap off the excess ink.

Step 5.
After applying your first color pull up the stencil to just below that section and then reapply the stencil. This will keep the ink from drying to the stencil and ruining your stencil.

Step 6.
Continue applying the Chalk Couture ink until the stencil is complete.

Step 7.
Carefully pull the stencil up. It is recommended to pull in an upward motion. Not at an angle like you do vinyl.

Step 8.
I set the ink using my heat gun. You can use a blow dryer if you don't have a heat gun.

Step 9.
Find something for the background our your frame. I used a piece of scrapbook paper.
Put the frame back together with the background piece behind the glass.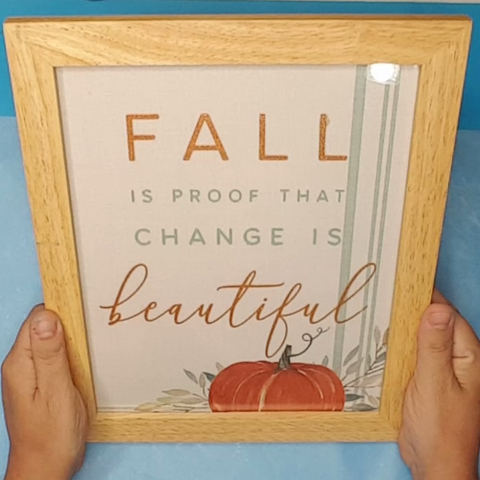
This piece turned out so beautiful. The picture doesn't give it justice.
If you are interested in recreating this project for your home you will find a link to the Chalk Couture kit I created for you HERE.
Check out more fall inspiration HERE.
SIGN UP FOR OUR NEWSLETTER to receive access to our FREE PRINTABLES, discounts, and early access to new products.