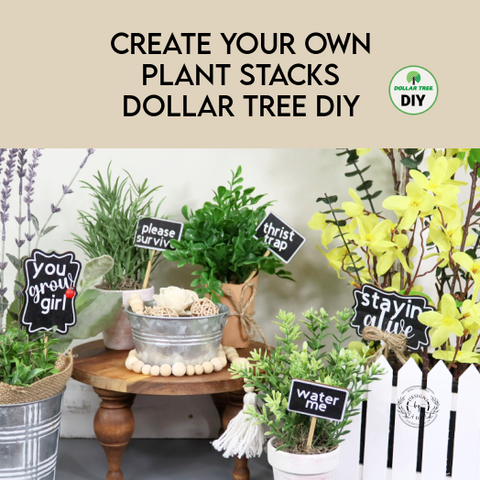

Looking for a fun and easy Spring DIY project? Check out how I transformed a Dollar Tree Fall cutting board decor piece into a beautiful, personalized work of art!
To start, I removed the Fall saying and gave the board a fresh coat of light gray spray paint.

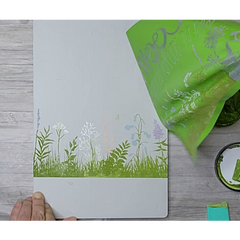
To ensure clean lines and avoid any paint mishaps, I carefully taped off the bottom portion of the stencil before proceeding.
Choosing the perfect color scheme took me some time, but I ultimately decided on a collection of chalk paste hues that I applied with precision using squeegees.
I made sure to keep the paste thick to prevent it from drying out too quickly, which can sometimes cause it to peel away from the surface prematurely.
After covering the entire stencil, I used a clean squeegee to remove any excess paste, and a baby wipe to keep my tools clean and tidy.
Overall, I was thrilled with how well the stencil turned out, although I did have a few spots where paint had somehow snuck under the stencil or onto my fingers during the process.
Not to worry, a quick swipe with a baby wipe easily took care of those minor blemishes.

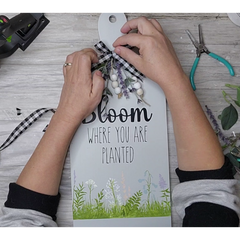
To add an extra touch of charm, I designed and cut a black vinyl file, and then wrapped twine around the board's neck, embellished with Dollar Tree beads.

But it still felt like it needed a little something more, so I rummaged through my stash and added some lovely greenery and florals.

To hide any unsightly glue, I affixed a charming little checkered bow to the base of the florals.
All in all, I couldn't be happier with the final result! It's simply stinking cute.

Whether you're an experienced crafter or just starting out, you'll love how easy and fun this project is.
So what are you waiting for? Give this project a try and let me know what you think in the comments!
Watch the Full Tutorial HERE!