


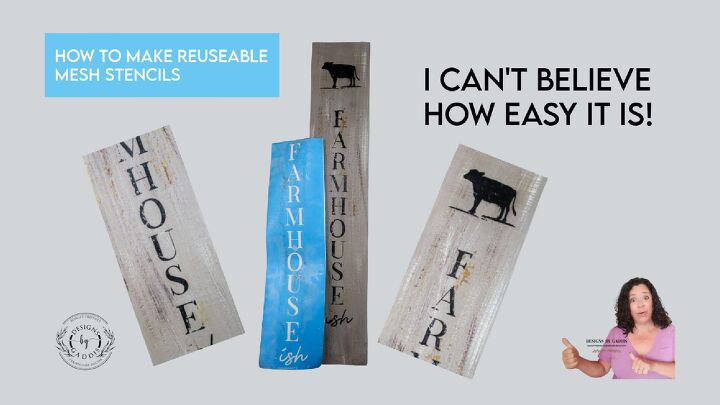
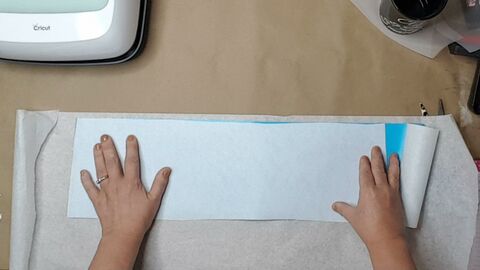
I played around with the settings until the laser cut through the wood.
If you're like me, you can't get enough of that charming, rustic farmhouse style.
And what better way to fully immerse yourself in this aesthetic than by transforming your very own home into a farmhouse oasis?

The farmhouse style has been gaining popularity in recent years, and for good reason. This rustic aesthetic offers a cozy and inviting atmosphere that many find irresistible. Whether you live in the city or the country, turning your home into a farmhouse oasis is easier than you might think. With a few simple additions, you can transform your space into a charming and warm environment that you'll love spending time in.
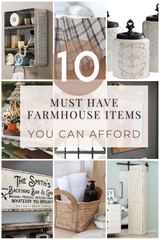
In this post, we've compiled a list of 10 must-have items to turn your home into a farmhouse oasis. From mason jars to rustic wall decor, we've got you covered. We'll also share tips and tricks on how to incorporate these items into your existing decor, as well as ideas on where to find them. So, get ready to cozy up and embrace the farmhouse style with open arms.
Disclosure: please note that affiliate links are used in this post.
Mason Jars
Ah, the humble mason jar. Is there anything it can't do? Use them as vases, drinking glasses, or even as storage containers. They're versatile, charming, and will add that extra touch of rustic flair you're looking for.

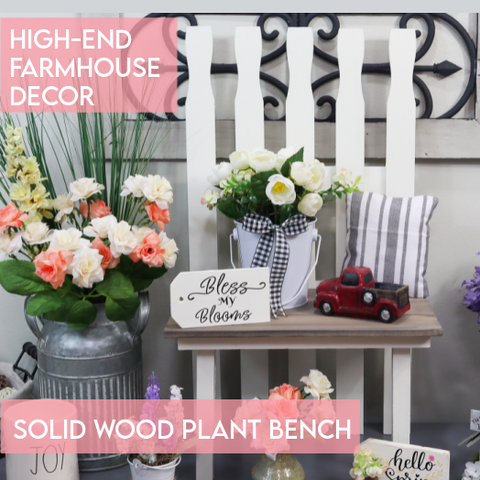
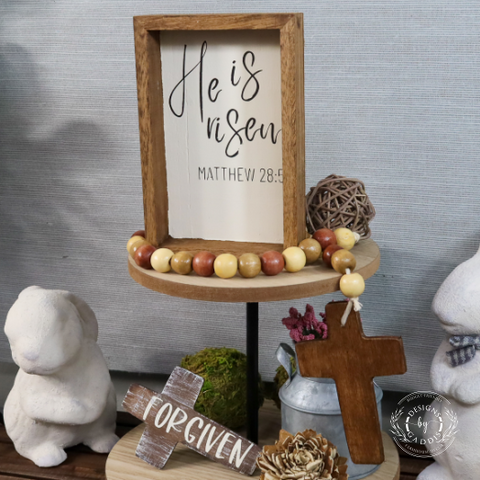
Rustic Wall Decor
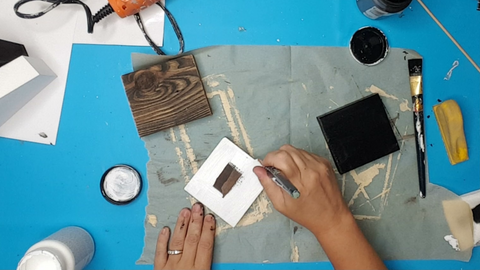
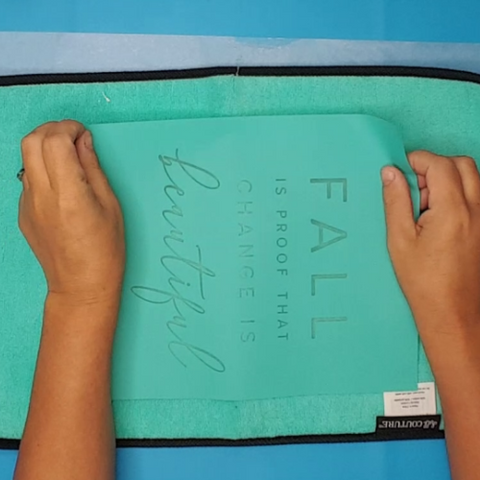
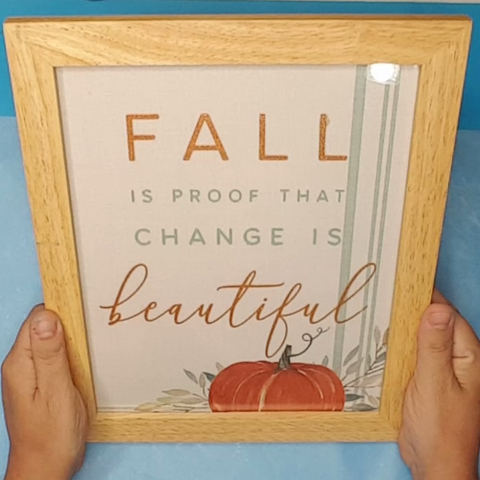
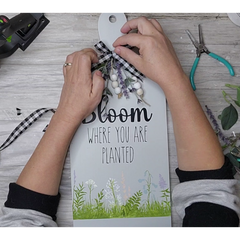
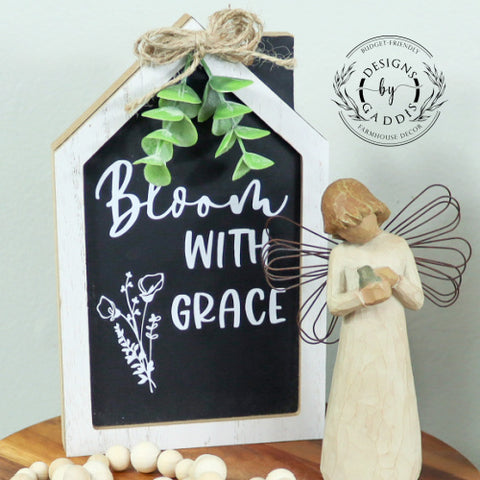
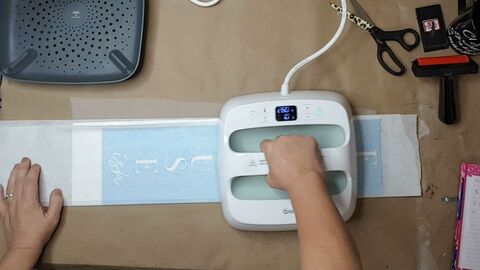
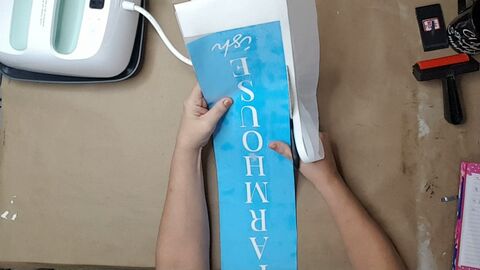
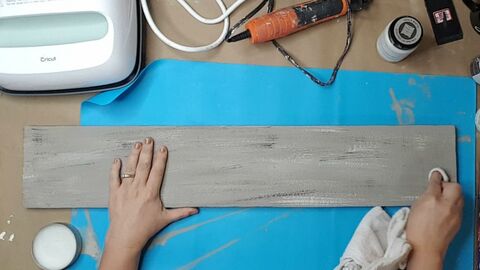
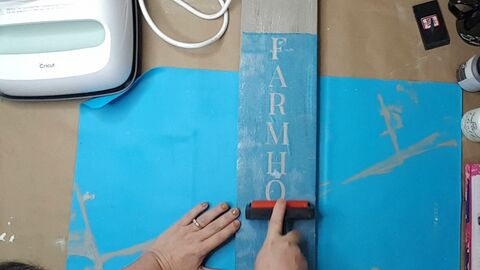
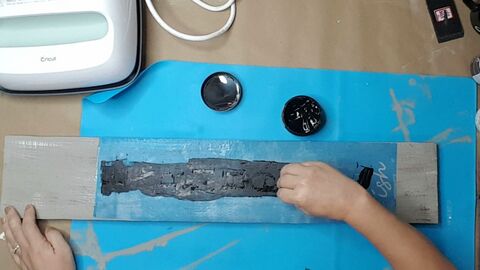
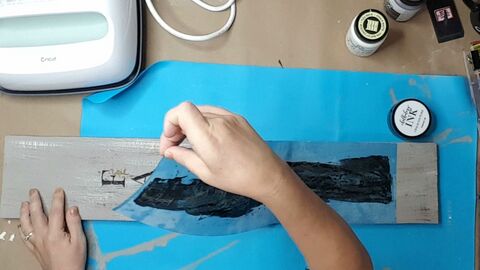
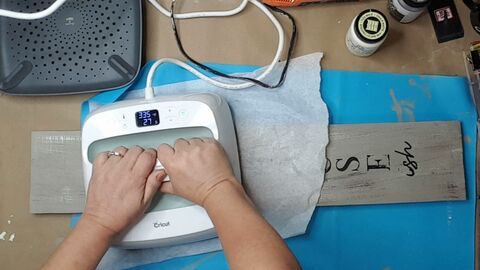
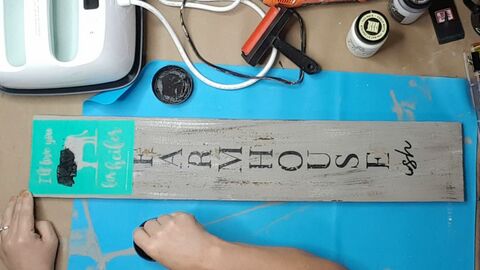
Whether it's a vintage sign, a shabby chic clock, or a beautiful piece of barn wood, rustic wall decor is a must-have for any farmhouse oasis. Not only will it add to the overall aesthetic, but it will also serve as a focal point for your space.

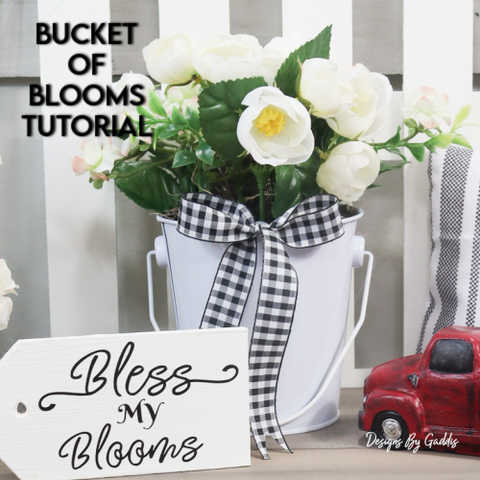
Galvanized Metal
Galvanized metal screams farmhouse chic. Incorporate it into your home with pieces like a farmhouse sink, planters, or even a pendant light fixture. It's a simple way to add a touch of industrial edge to your space.

Woven Baskets
If you're anything like me, you love a good storage solution. Woven baskets not only serve a practical purpose, but they're also beautiful decorative pieces. Use them to store blankets, magazines, or even as a planter.

Vintage Kitchenware
Give your kitchen that perfect farmhouse touch with vintage kitchenware. Think old-fashioned milk jugs, bread boxes, and cast iron skillets. These pieces are not only functional, but they'll add a touch of nostalgia to your space.

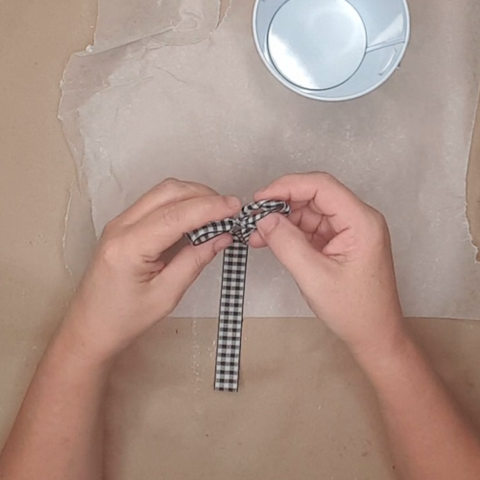
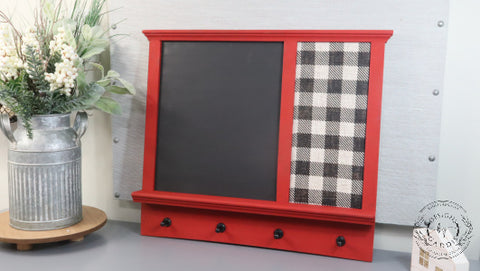
Plaid Throws
Cozy up with a plaid throw blanket. Not only are they perfect for snuggling up on the couch, but they'll also add that cozy, inviting vibe to your space.

Barn Doors
Add some rustic charm to your space with a sliding barn door. They're not only functional but also add a statement piece to any room. Use them as a bathroom door, bedroom door, or even as a statement piece on a large wall.

Farmhouse Table
A farmhouse table is the ultimate must-have for any farmhouse oasis. It's the perfect gathering spot for family dinners, game nights, and everything in between. Not to mention, they're a beautiful statement piece in any dining room.

Rustic Lighting
Nothing sets the mood quite like the right lighting. Incorporate rustic lighting fixtures into your space, like an antique chandelier or a simple pendant light. They're a beautiful way to add a touch of warmth and coziness to your home.

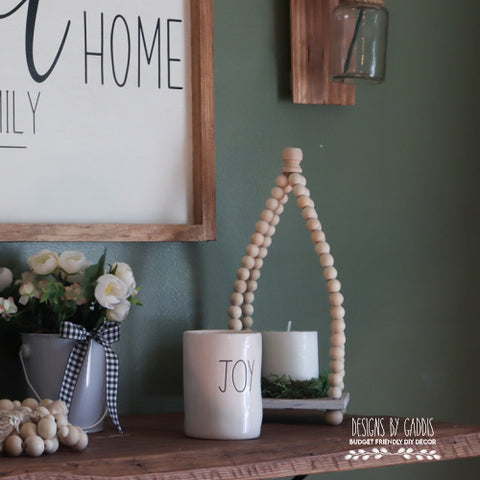
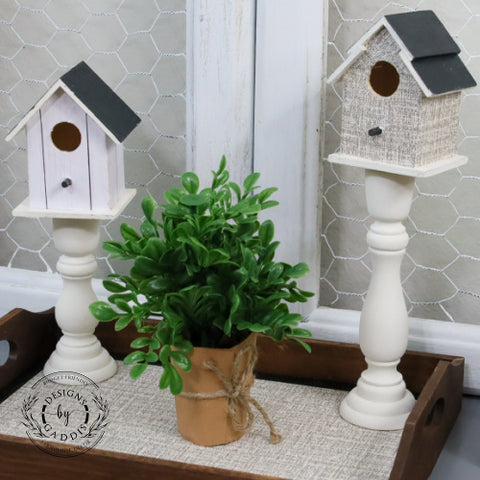
Wooden Accents
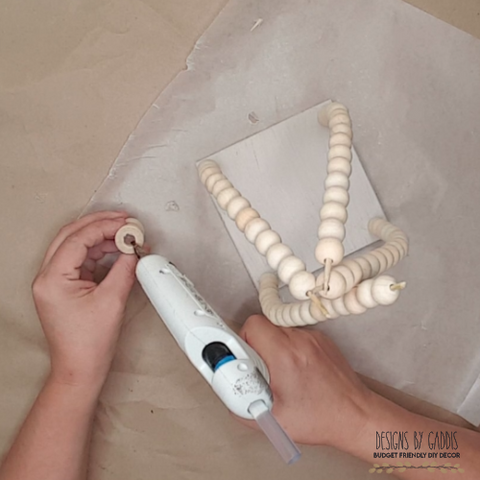
Wooden accents are the perfect finishing touch for any farmhouse oasis. Incorporate them into your space with pieces like a wooden clock, picture frames, or even a statement piece like a wooden wall hanging. They're a simple way to add a touch of natural warmth to your home.

There you have it, folks! With these 10 must-have items, you'll have your very own farmhouse oasis in no time. Happy decorating!
]]>


 I created some adorable Gingerbread Men using an item from Target's Bullseye Spot. This adorable Gingerbread man tier tray addition cost me less than $5 and turned out so stinking cute!